Poses and Expressions
Back to Web tutorials | Telegram tutorials
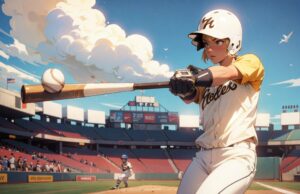
There’s three basic strategies to get your characters to pose the way you want. We’ll quickly review these tactics in this intermediate lesson.
Lesson Goals
- Use a Preset Pose
- Upload your own pose (pictured)
- Use a ControlNet Skeleton Pose
PREP
Please complete the Models Tutorial before starting this lesson
Beginners: Choose a Preset Pose
Step 1: Click Advanced, then Concepts
In an earlier lesson, you learned that models can mean effects and characters, but they can also be used for poses. You’ll find poses in the same place. A LoRA (a kind of mini model) is a popular file format for poses.
You’ll find the concepts (Letter D below) page under the advanced mode. If you’re already an old pro, you can make Advanced your default.
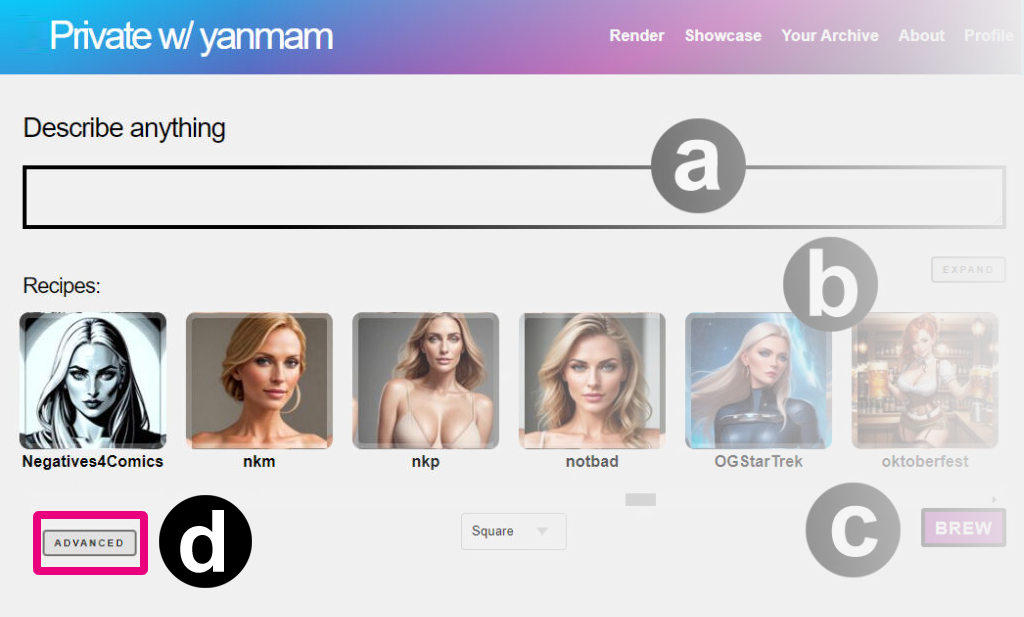
Step 2: Click the Poses tag
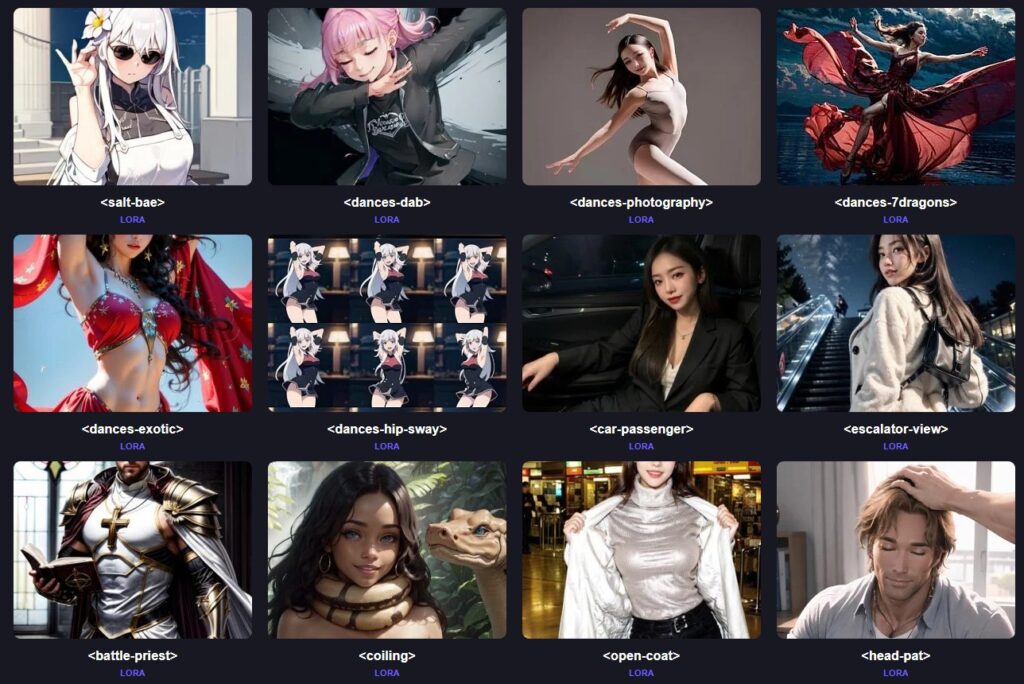
Our system has hundreds of easy preset pose templates, both SFW and NSFW. There’s over 350 poses in the system at the time of this update. Your screen should display hundreds of poses as shown below, like dance poses and a few meme poses, too.
Choose the <dances-dab> pose to follow along, or any pose you’d like. The “dab” is a particularly tricky and specific positioning of the hands.
You could theoretically prompt for “a woman holding an open palm under her face with the other arm outstretched towards the sky” but the odds of that looking exactly like the dab dance are pretty slim to none, so its best to use a preset, or sometimes, do both.
Step 3: Describe your character and scene
Princess Zelda is doing the dab dance
(optional) A simple prompt like the one above will suffice, but for better results, get more descriptive.
WHO, WHAT, WHERE, DETAILS, NEGATIVES
A close-up realistic photographic portrait of Princess Zelda doing the dab dance at busy pub in London, holding an open palm under her face with the other arm outstretched upwards, Highly detailed image, High Quality, Masterpiece, beautiful, 1girl, standing up, indoors, light smile, closed mouth, looking at viewer, golden long hair
Step 4: Choose your art style
Choose a recipe that you know well, or a base model. Remember that some recipes are subject-specific, so they might change your content.
Recommendations:
The #boost recipe is great for punching up images. It adds powerful quality-boosting embeddings to boost up our image. #nfix and #everythingbad are also popular.
Advanced users: You can add an additional Character LoRA to the scene, or describe them in the prompt. There are also background LoRAs in the system. These are very handy time savers. Just remember to adjust your LoRA weights accordingly if they conflict with one another. The default is 0.7, and “safe” sometimes means 0.2.
Step 5: Review your setup & click Render
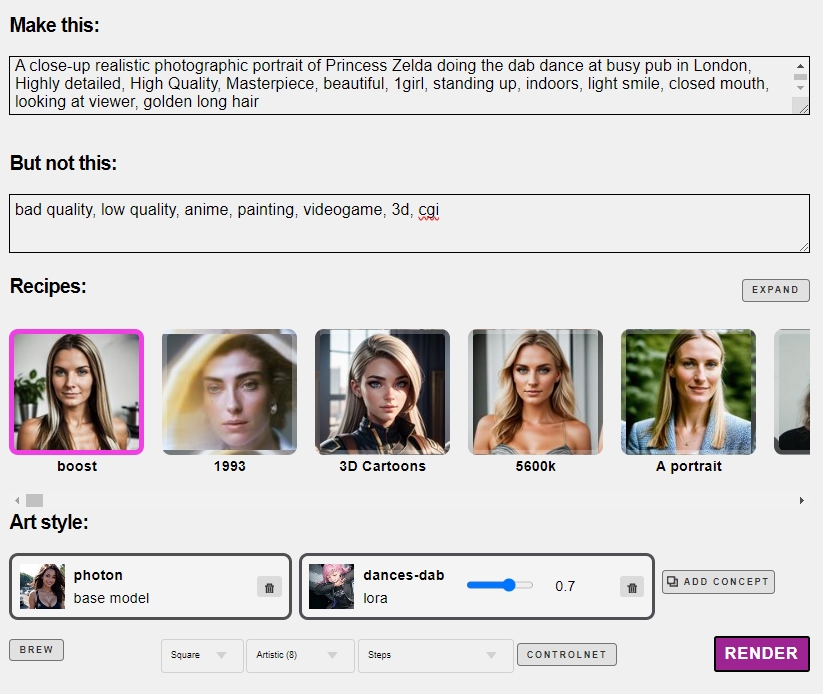
And that’s it! This will work for 350 preset poses in the system, but there are two other ways to get the exact specific pose you want, using your own photos.
Before and After
NO POSE LORA
Here’s what the results look like without the <dances-dab> model, with just the prompt. They’re close, but they’re not the dab.
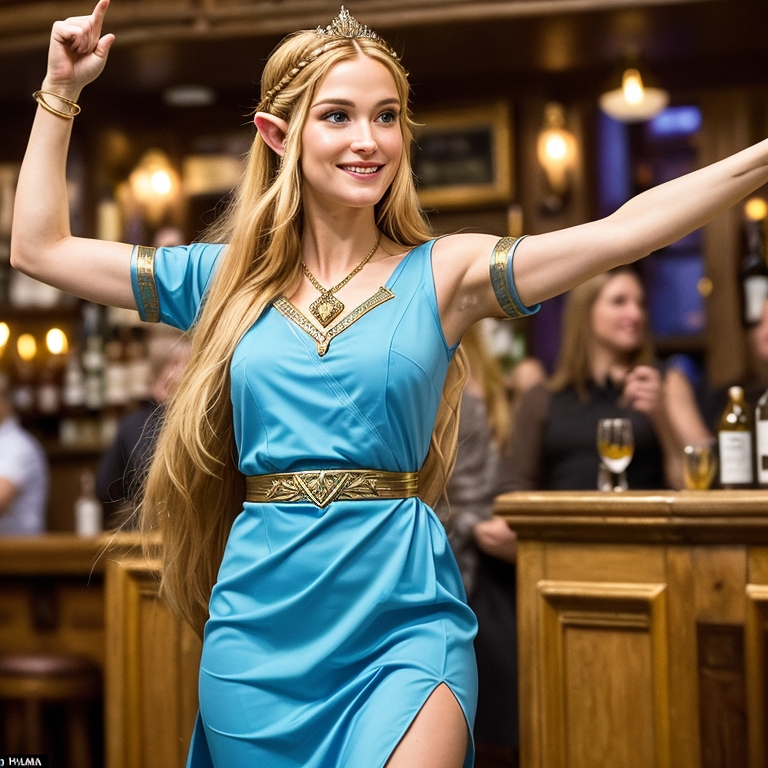
NOPE
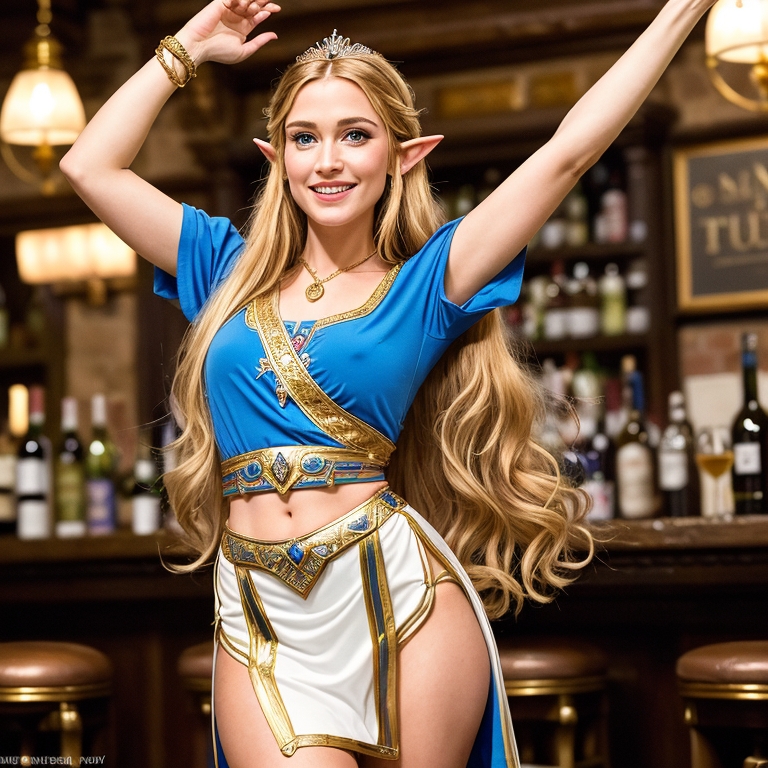
ALSO NOPE
With the pose – ok that’s a proper dab
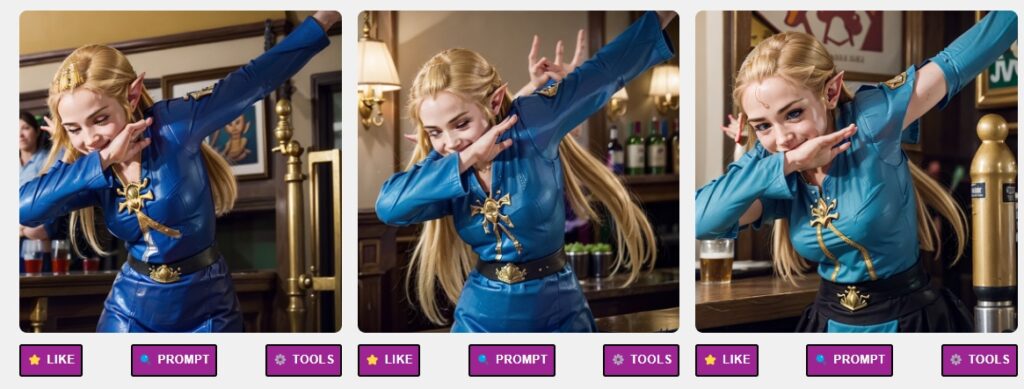
You’ll nose some artifacts in these images below, so we’re not done. Click into the tools menu and click “more” until a glitch-free image appears, and then click Facelift to boost the quality near 4k
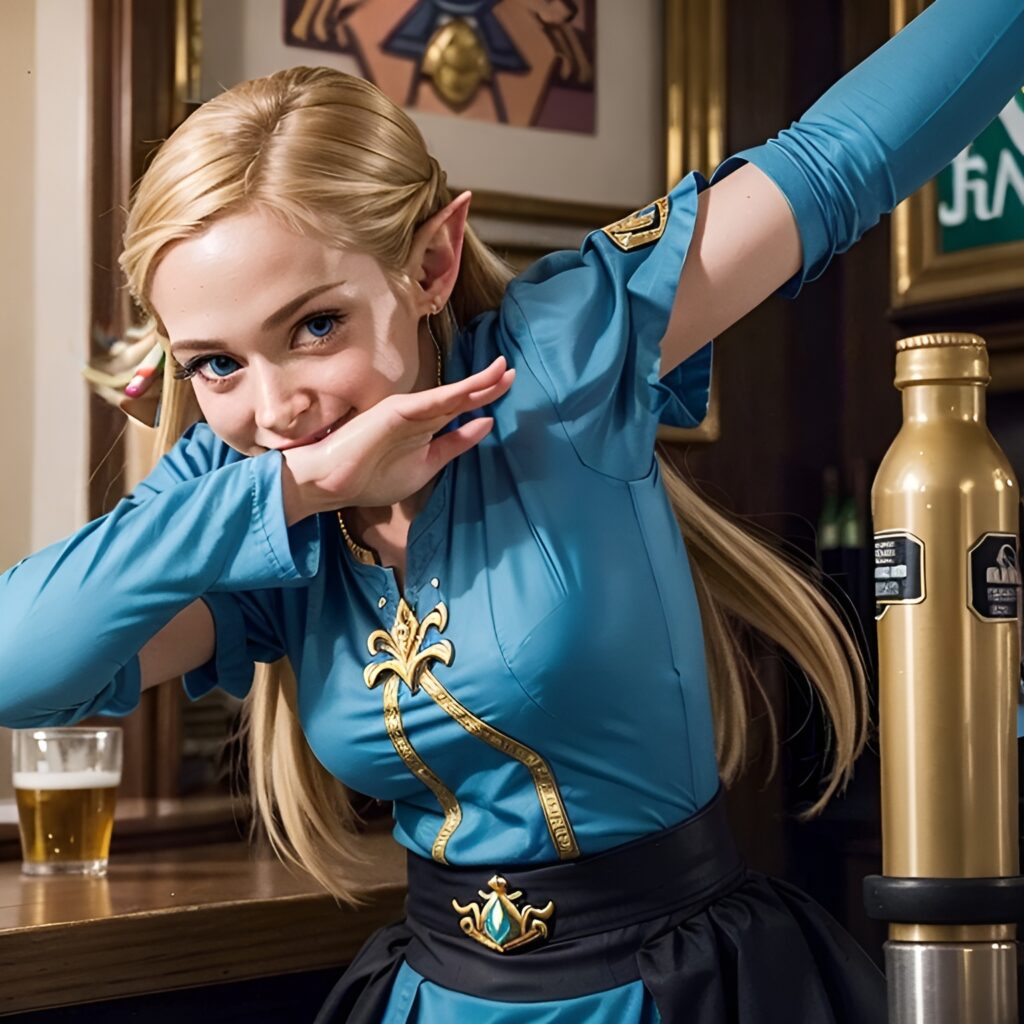
Preset LoRA poses are created by the community and aren’t perfect, nor are they compatible with every model. Lowering the weight and knowing which poses work best with which models are the best solution, or create your own poses using Img2Img.
Troubleshooting
Glitched images? Lower the weights, or try a different art style.
LoRAs are models trained on images. If a LoRA is trained on anime or comic images and you are trying to create a realistic image, you’ll run into problems. Lowering the weight to 0.2 can help, but testing and knowing your models well is the best advice.
Mismatched Error – Preset poses are LoRAs, and LoRAs are models that only work with the Stable Diffusion Family that they belong to. This means that a Stable Diffusion 1.5 LoRA will not work with an SDXL model or recipe. Always stay within one SD family when choosing models, or you’ll run into a model type mismatch error.
Intermediate: Upload your own
When using a preset LoRA pose, you are giving up some artistic control. These are intended as quick shortcuts for beginners. A LoRA is trained on many images, meaning that LoRA poses will have some impact on the art style, and a lot of impact on how the image is framed.
You can instead use Image to Image to upload your own poses, but the Remix method will use all of the information. Check out this cool prompt from community member Mark White
Step 1: Upload a pose
Using an image without a background works best, but it isn’t required. You can also render images first, use our remove background tool, and then use that as a pose.
You can download this image and use it as your pose:
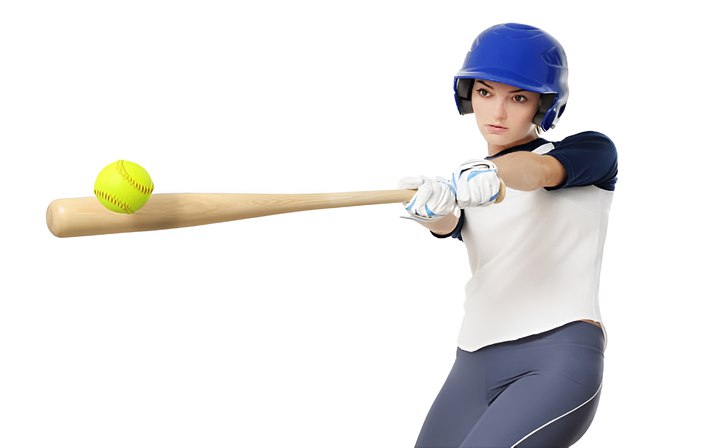
Step 2: Use the Remix tool
The remix tool takes the shape and characteristics of the input image, like the pose, and allows a prompt to change the image.
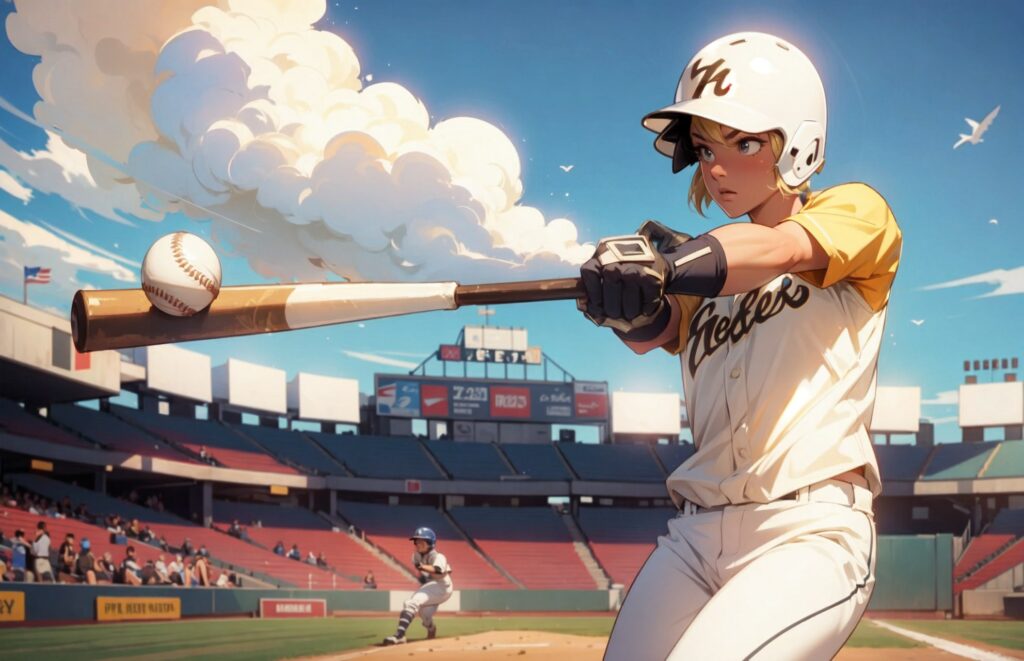
In this exammple we are prompting and replacing every pixel with our own art style with the following strong prompt. We are using the base art style called “Coma2”
1girl, solo, a pretty blonde hitting a home run, holding a baseball bat, ball, batting helmet, batting gloves, baseball uniform, outdoor baseball stadium, sunny summer afternoon, [[verybadimagenegative_v1.3 EasyNegativeV2 Bad-Hands-5 bad_prompt_version2 boring_e621_v4 ]] [[text, font, logo, copyright, watermark]] <coma2>
Advanced: ControlNet Skeleton Poses
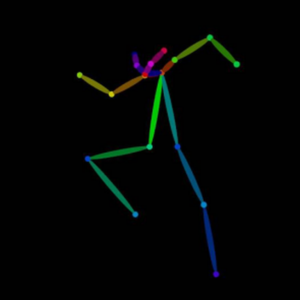
The absolute best way to do poses is to use ControlNet, because the pose is isolated and nothing else is interrupting your prompt.
Try creating the UpUp pose from the ControlNet Lesson
